Homemade Kaya – All in 15 minutes!
One of the most ambitious goals I’ve set for myself this year is to try 40 brand new dishes to celebrate me turning 40. You can find out my other Turning 40 goals here! Back to these 40 brand new dishes… I told myself I wanted to try stuff that I’ve never cooked or baked before. So definitely no chocolate cakes, or pasta sauce or chicken porridge.
I’ve ventured into French, Indian, Italian, Peranakan, Indonesian, Japanese and English cuisines. I’ve also dug deep into my Cantonese heritage! We are now in August, and I’m only at Dish #14! Clearly, I’ve lots to catch up on! I have been sharing my final product on social media and I was pleasantly surprised the dish that received the most comments was Dish #13 — Nonya Kaya! I’ve friends and family who asked for the recipe ESPECIALLY when they found out it only took 15 min to make!
You see, Kaya is Coconut Jam that many Singaporeans (and Malaysians & Indonesians) use to spread on their bread or cracker for breakfast. (For me, I can have Kaya any time of the day!) The stories we hear of yummy Kaya is how an old grandma or aunty would be watching over the fire, stirring and stirring and stirring to ensure the consistency of the Kaya and for it to cook well. It’s a dish that hardly anyone makes at home because of the hard work and long hours.
So 15 min is a big shocker to everyone! I found the recipe online at Kitchen Tigress and I tried it TWICE. She could do it in 10 min, but I think setting it at 15 min would be safer. I tweaked it a little as I like my Kaya to be more Lemak (more coconut flavour). The recipe makes only about 200g of Kaya (this means one little jar). Feel free to multiply it to a larger quantity anytime!
So here are the steps:
1. Separate the Egg Yolks from Whites (this is the toughest part for me!)
We only want the Yolks!! (no one ever said Kaya is healthy eating!) Try as much as you can to separate all the whites. This would prevent the kaya from turning lumpy. (the traditional method used whole eggs, thus all the stirring and low fire was necessary to keep the consistency smooth)
Beat the yolks well.
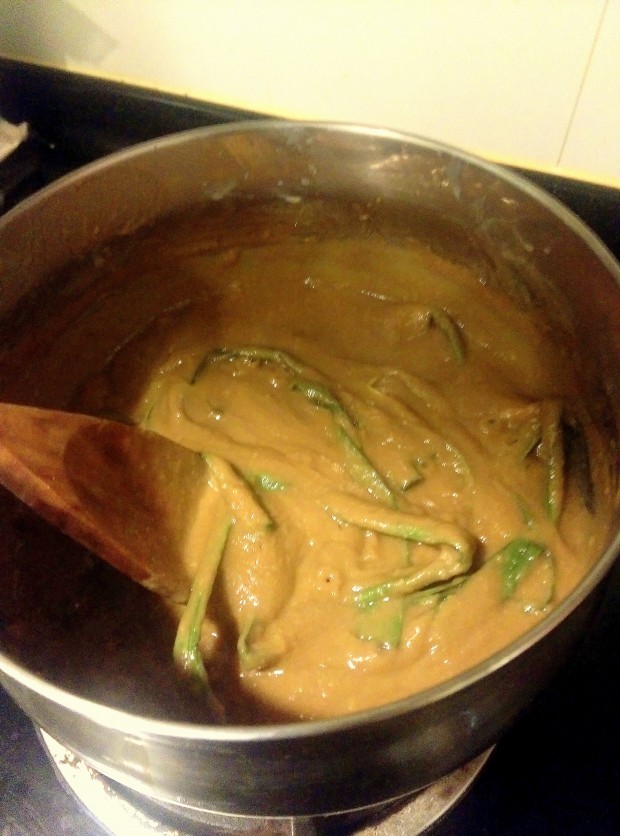
2. Put the Coconut Milk, Coconut Cream, Gula Melaka, White Sugar and Pandan Leaves in a pot and bring to a boil on medium fire
About the Coconut: I used half portion Trim coconut milk (Ayam brand) and half portion coconut cream (Kara brand) instead of 100% coconut milk as I like my kaya to have that rich coconut taste. The cream is thicker and is a lot more fragrant! If you prefer it less Lemak, you can adjust the portions accordingly.
About the Gula Melaka & Sugar: The Gula Melaka (or Palm Sugar) is ESSENTIAL in this recipe. It gives the kaya a very rich flavor which ordinary sugar doesn’t give. You can chop the Gula Melaka into potato-stew sizes for easy boiling. However, you still need the regular Castor Sugar to add sweetness to the Kaya. If you prefer something less sweet, you can try brown sugar, but this would totally change the final product.
About Pandan Leaves: Use the entire leaf, please don’t cut or tie a knot. Must put. Enough said.
3. Switch off the fire. Slowly pour half of the hot mixture into the bowl of egg yolks. Keep stirring the yolks as you do this.
This is important. We don’t want to cook the eggs before it’s mixed in. I used a ladle in my left hand to scoop the hot mixture into the yolks, and a fork in my right hand to stir the yolks.
4. Pour the Egg Yolks into the remaining half of the hot mixture. Switch on to medium fire. Gently stir occasionally as you bring it to boil.
5. When it boils, lower the fire and simmer for another 5 min. Switch off fire and let it cool.
6. Meanwhile, you can remove the Pandan Leaves.
Do the Kitchen Tigress’ tip: Hold up one end of the leaf, Use chopsticks to slide down the entire leaf so you don’t waste any Kaya!
7. When it cools, put into a container and refrigerate when completely cooled.
It may look a little watery, but don’t worry, when it’s chilled, it would would thicken.
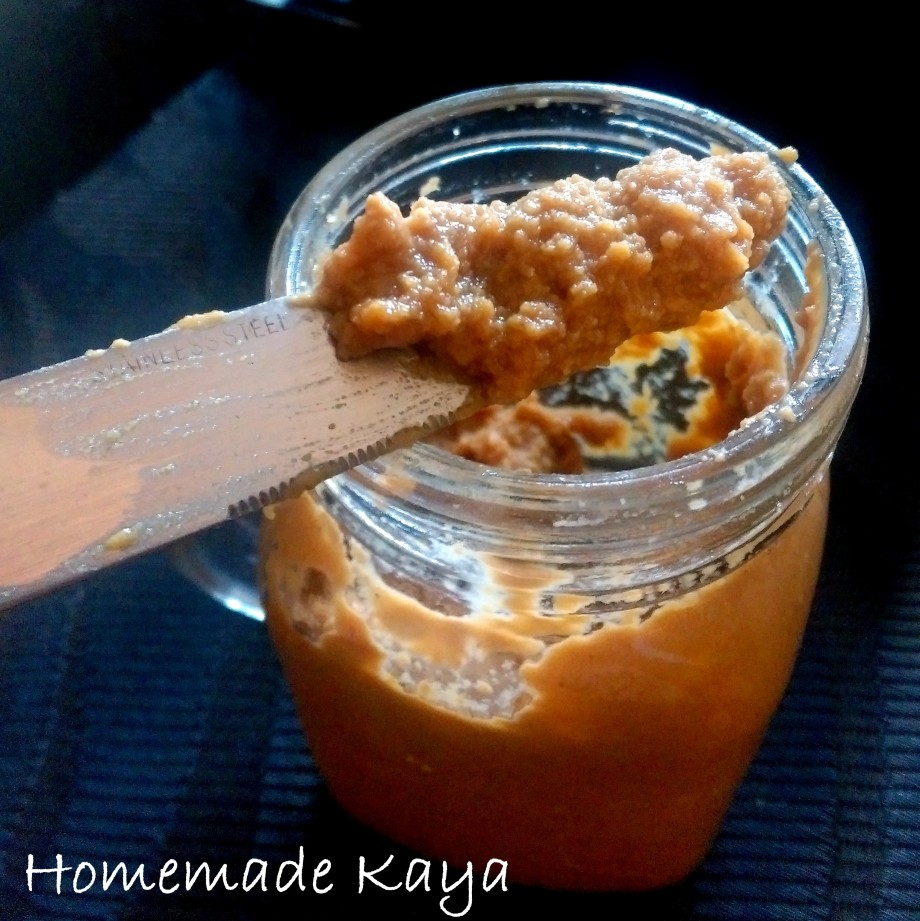
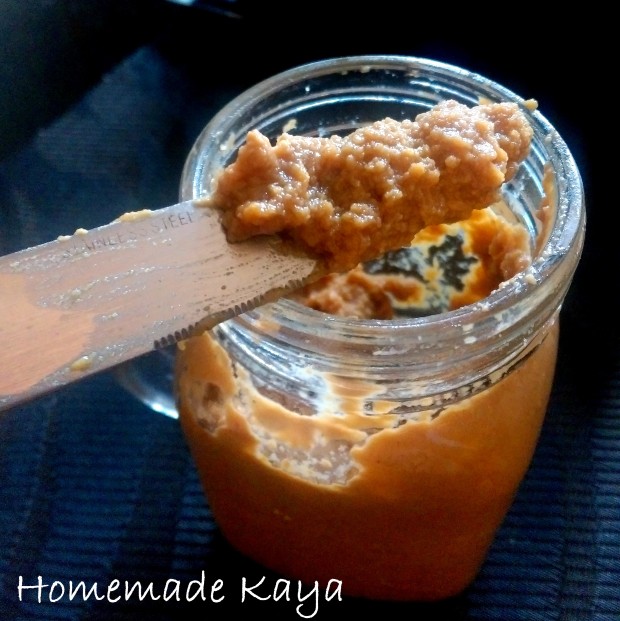 I wish my Kaya didn’t look like Minced Meat Sauce, or Beef Rendang! I’m still trying to improve the texture. But the taste is really yummy. Aromatic, full body coconut taste, rich gula melaka flavour too. My Ah Nay would be proud of me!
Try it and tell me how it went! Remember to refrigerate it, the Kaya can keep for a week! (mine was gone in 2 days!)
- 8 Egg Yolks
- 200ml Coconut Cream
- 200ml Coconut Milk
- 90g Gula Melaka
- 90g Castor Sugar
- 8-10 Pandan Leaves
- Separate the Egg Yolks. Ensure there's as little Egg Whites as possible. Beat the Yolks well and set aside.
- Put the Coconut Cream, Coconut Milk, Gula Melaka, Castor Sugar and Pandan Leaves in a pot and bring to a boil, using Medium fire. Ensure the Gula Melaka is melted.
- Switch off the fire.
- Pour half of the hot mixture into the Egg Yolks. Keep Stirring the Yolks as you pour in the mixture.
- Now pour the Yolks back into the remaining half of the hot mixture in the pot.
- Switch on medium fire and bring to a boil. Stir occasionally.
- Turn to low fire and boil gently for 5 min.
- Switch off fire and let Kaya cool.
- Scoop into a container, and when totally cooled, refrigerate.
This is part of my Turning 40s Goals! Join me on my journey!





That look like a delicous spread. I love coconut and I want to try this.
Never heard of it but it looks and sounds good! Welcome to the 40 club!
I love learning about new things! I’ve never heard of kaya but it looks delicious and I love coconut
You know what? That actually looks yummy! Definitely something that I would give a try!
Woooo… kaya in 15 minutes! Even shorter than walking out to get one!!
Wow.. this looks pretty cool. I didnt realise you can make your own kaya (Not a great cook myself). hehehe Thank you for sharing. I’ll know where to go if i need to make my own kaya spread.
Wish I knew of this when I was living overseas to make my own kaya… I missed toasted kaya toast so much then!! 😛
Ai @ Sakura Haruka
It really looks easy to make. I love kaya, but I take a long time to finish kaya. All the best for your 40 dishes.
Wow i wish I knew how to make my own kaya back then! My MIL has a nice plot of really fragrant pandan leaves which we use to make desserts. Maybe I should make use of them soon!
Shirley @ SAys! Happy Mums
Love the last photo, lesser defined kaya. The branded kaya got smooth texture, but the really old-school one (ie home made) loonks like “minced meat”. My own POV 🙂
Will ask my Mrs to try, 15min is fast!
cheers, Andy
SengkangBabies
It looks quite easy to make! Shall try it out! Wonder how long can it be kept?
I was super excited when i saw homemade kaya, because my kids LOVE kaya. But the first step already stumbled me. No idea how to separate the yolk and white. LOL… I’m no domestic goddess that’s for sure. And Gula Melaka… it always comes in one big chunk… How do you even break it up?
When I was young, my mum used to make homemade kaya when she was in the mood… it was over a charcoal stove in the bathroom! It seemed like a lot of hard work! haha so we all appreciated the yummy kaya thereafter… thnks for sharing this precious recipe, maybe I should get cracking in the kitchen too! haha
CHeers!
Audrey @ SAys! Happy Mums
Thanks for the easy to follow step by step instructions! I have never tried Kaya before, but I’ve always been curious.
I’d happily give that a taste though, whether or not it needs texture improvement. It sounds good!